Wide uses the full column for everything, text, diagrams, code, and exercises. Narrow keeps the standard reading width.
Text size
Scales the body text. Headings and code blocks keep their size.
In this section
▾
Windows Endpoint Investigation: Course Orientation
Module 0
WINDOWS ENDPOINT INVESTIGATION · MODULE 00
An alert says something happened. Forensics proves exactly what.
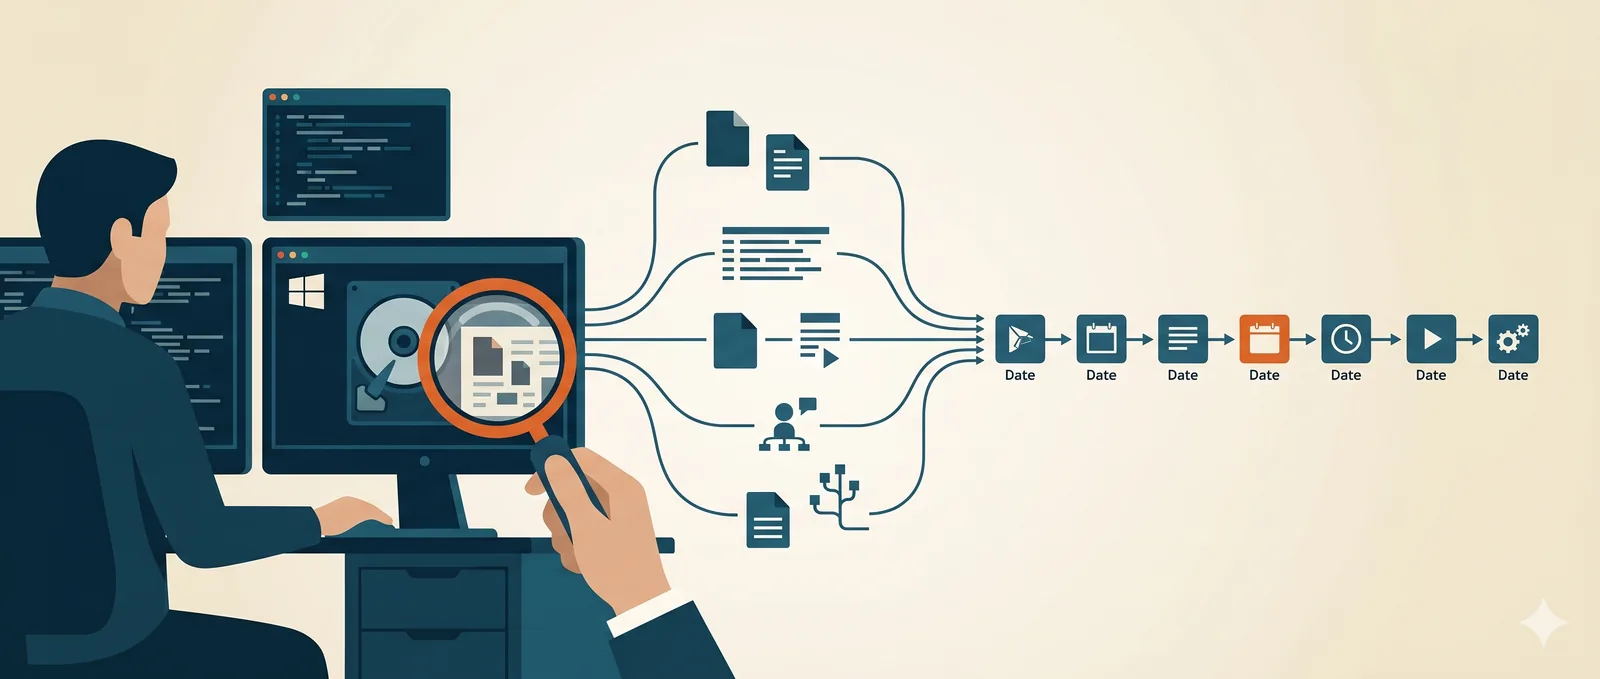
A Windows system records far more than its users realize. This course teaches you to read that record: to take a compromised host and reconstruct what ran, who was present, how the attacker moved, what they installed, what data left, and what they tried to hide. You work real artifacts, build timelines across multiple hosts, and finish two full capstone investigations. This module shows you what you'll be able to prove, the evidence you'll work, and how the course gets you there.
15 modules
across 4 phases
2 capstones
full investigations, end to end
All tools free
no licenses to buy
No prerequisites
every artifact explained
Why this course exists
An alert tells you a rule fired. It does not tell you what actually happened. When a host is compromised, the questions that matter, what executed, which account did it, how the attacker got in and spread, what they left behind to persist, what data they took, and what they deleted to cover it, are answered nowhere in the alert. They are answered in the evidence the system recorded while it all happened: the registry, the event logs, execution artifacts, the file system, browser history, and memory.
Forensic analysis is the discipline of reading that evidence and reconstructing the truth from it. Most people learn it as a scattered list of artifacts and tools, which is why they freeze when a real host does not match the tutorial. This course is built differently. It is organized around the questions an investigator actually has to answer, and each module makes you answer one from the artifacts up, then assemble those answers into a defensible timeline. By the end, a compromised Windows system is something you can take apart and explain, not a mystery you hope a tool will solve.
What you will be able to do
This course is built around what you can prove at the end, not the artifacts you can name. Every module puts a real question in front of you and makes you answer it from the evidence, then defend the answer.
Acquire and triage evidence
Collect from a live or imaged Windows host in a defensible, order-of-volatility way, and triage fast to find where to dig.
Answer the investigation questions
Work the artifacts that prove what ran, who was active, how the attacker entered and moved, what they installed, and what data they took.
Build cross-host timelines
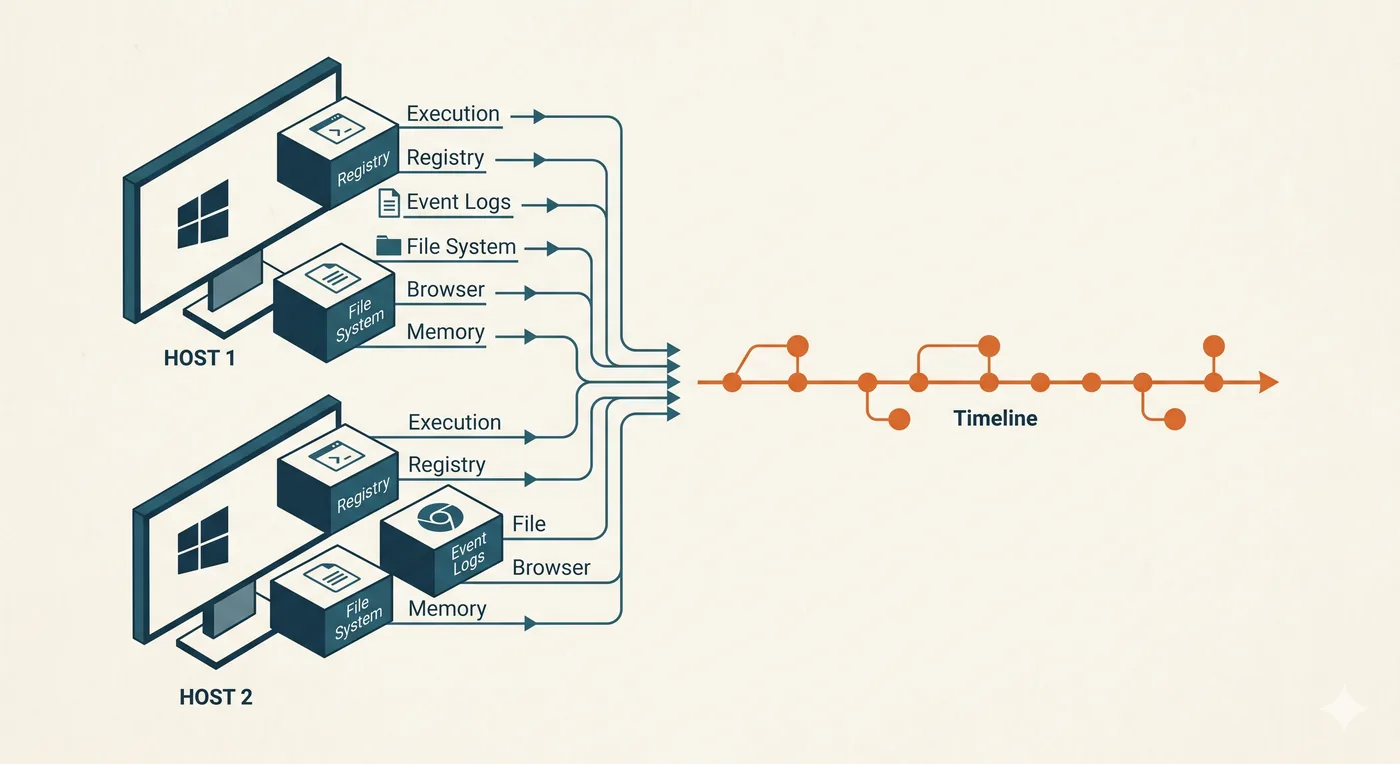
Correlate artifacts from multiple systems into a single chronological account that holds together and explains the whole incident.
Detect anti-forensics
Spot timestamp manipulation, log clearing, and wiping, and recover what the attacker tried to destroy or conceal.
Work the professional toolstack
Use KAPE, the EZ Tools, Velociraptor, Plaso, RegRipper, Hindsight, and Volatility the way a working examiner does, all of them free.
Report what you found
Write investigation reports that document findings, evidence, and reasoning clearly enough to stand up to scrutiny.
You also leave with artifacts you keep: two complete investigation reports from the capstones, a forensic field manual of repeatable procedures you can run on any Windows engagement, and artifact-analysis skills that outlast any single tool.
The evidence you will work
A Windows host is not one source of truth, it is dozens. Execution artifacts, the registry, event logs, the file system, browser history, and memory each record a different slice of what happened, and the real picture only appears when you pull them together. In a multi-host incident you do it across systems, merging every source into one timeline that survives questioning. That assembly, from scattered artifacts to a single defensible account, is what the course trains.
You work the same evidence and free tooling a professional examiner uses, KAPE, the EZ Tools, Velociraptor, Plaso, RegRipper, Hindsight, and Volatility, against prepared host images with real attacks staged inside them, so the artifacts you read are the artifacts a real engagement produces. The discipline is what carries: the method here is Windows-specific in its artifacts, but the investigative habit, ask the question, find the evidence that answers it, place it on the timeline, defend it, is how every forensic engagement on any platform is run.
How the course is built
Fifteen modules move through four phases. You set the foundations and learn to acquire evidence, work through the investigation questions one by one, integrate them into a complete picture, then prove the whole skill set in two full capstone investigations.
What you need and who this is for
There are no prerequisites, and every artifact is explained the first time you meet it. This course is for anyone who needs to investigate Windows systems: DFIR analysts building real depth, incident responders who want to go past triage to what actually happened, SOC analysts moving into forensics, and IT professionals who find themselves holding a compromised machine and a lot of questions.
Transferable investigative method
Ask the question, find the evidence, place it on the timeline, defend it. The artifacts are Windows; the method runs any forensic engagement on any platform.
Free tools, real workstation
Every tool in the course is free. Module 0 walks you through building an analysis workstation, so there is nothing to buy before you start working evidence.
How to get the most
Work each question against the evidence yourself before reading the answer, and keep the procedures that work. That habit is how your field manual gets built.
Do I already know this material?
Six quick scenarios across the full range of this course, from evidence acquisition to building a defensible investigation. Answer them to find out where you sit, and whether this course fits or it will sharpen knowledge you already have.
You arrive at a running Windows host that is part of an active incident. What guides the order in which you collect evidence?
Collect the disk image first; it holds the most data.
Order of volatility: capture the most perishable evidence, memory, running processes, network connections, before the evidence that persists on disk, since the volatile data is gone once the system is powered off.
Some evidence exists only while the system runs. Memory, live connections, and process state vanish at shutdown, so you capture them before disk, which survives. Order of volatility is the rule that decides what to grab first.
Whatever is fastest to grab.
Only what the alert specifically mentions.
You need to determine what programs executed on a Windows host, including some that were later deleted. Which kind of artifact is most useful?
Windows execution artifacts that record program runs independently of whether the binary still exists, such as prefetch and the application-compatibility caches, which can show execution even after the file is gone.
Windows keeps records of execution that outlive the executable. Prefetch and compatibility caches note that a program ran, when, and how often, so deleting the binary does not erase the evidence that it ran.
The Recycle Bin only.
The desktop wallpaper history.
The browser bookmarks.
You see a malicious action on the host. How do you attribute it to a specific user rather than just the machine?
Assume it was the primary user of the device.
Check who owns the device in the asset list.
Correlate the action's time with logon sessions and user-specific artifacts, the loaded profile, that user's registry hive activity, and the session, to tie the action to an authenticated session.
A machine does not act; a session does. Attribution means lining up the action with which user was logged on at that moment and the artifacts unique to their session, not guessing from ownership.
It cannot be attributed to a user at all.
A file's creation timestamp looks normal, but you suspect timestomping. How do you check?
Trust the timestamp; the filesystem does not lie.
Compare the standard timestamps against the lower-level filesystem records and other artifacts, such as the parallel timestamp set in the MFT and journal entries, since timestomping often alters one set but not all corroborating sources.
Filesystems keep more than one set of timestamps, and tools that backdate files rarely change them all consistently. Comparing the visible times against the MFT's parallel set and the change journal exposes the manipulation.
Re-download the file to reset it.
Ignore it; timestamps are unreliable anyway.
The Windows security event log has a gap exactly covering the suspected intrusion window. How should you treat this?
Conclude nothing happened during that window.
Assume logging was simply switched off.
Close the investigation; there is no data.
Treat the gap itself as evidence of likely anti-forensics, and reconstruct the window from artifacts the attacker may not have cleared, execution caches, registry, the filesystem journal, other logs, since absence of logs is not absence of activity.
A clean gap over exactly the intrusion window is a finding, not a blank. Attackers clear what they know about; you rebuild the timeline from the many artifacts they did not, treating the deletion itself as a signal.
You have many individual findings across artifacts. What turns them into a defensible investigation result?
Listing every artifact you found.
Reporting only the single most dramatic finding.
Correlating the findings into one coherent timeline and narrative where each conclusion is supported by multiple independent artifacts, so the account is defensible rather than a pile of facts.
A defensible result is a story that holds up: events in order, each claim backed by more than one artifact. A list of findings is raw material; the investigation is the corroborated narrative you build from it.
Whichever conclusion the client expects to hear.
This course is for you.
You will build Windows investigation from acquisition and triage through execution, user activity, ingress and movement, persistence, exfiltration, and filesystem forensics, into full insider and ransomware cases.
You have the fundamentals. The value here is the harder half.
You know how to acquire and read the core artifacts, so the payoff is the back half: filesystem forensics, anti-forensics, building the complete picture, communication and application forensics, and the insider and ransomware investigations.
You handled acquisition order, attribution, timestomping, anti-forensics, and building a defensible picture, the senior end of the discipline. Take the course to sharpen what you have, close the gaps you did not expect, and turn strong instincts into investigations that hold up.
You are a student of this course now, so start by deciding what you want from it. Are you here to build a forensic capability from the ground up, to deepen incident response past the point where triage stops, or to be ready for real casework on Windows hosts? Name that outcome, then turn it into a study plan: which investigation questions matter most to your work, how much time you will give it each week, and what you want to be able to prove by the time you finish.
The rest of Module 0 sets you up to do exactly that. Work through it to see what forensic analysis actually is, the toolstack and how the course is structured, the best practices that keep evidence defensible, and how to set up your analysis workstation. Then begin Module 1.
Stuck on this lesson?
Your question goes straight to the team and we'll reply by email. Sign in to ask.